- POST-MORTEM ANALYSIS OF REFRACTORY MATERIALS
- REFRACTORY TESTING
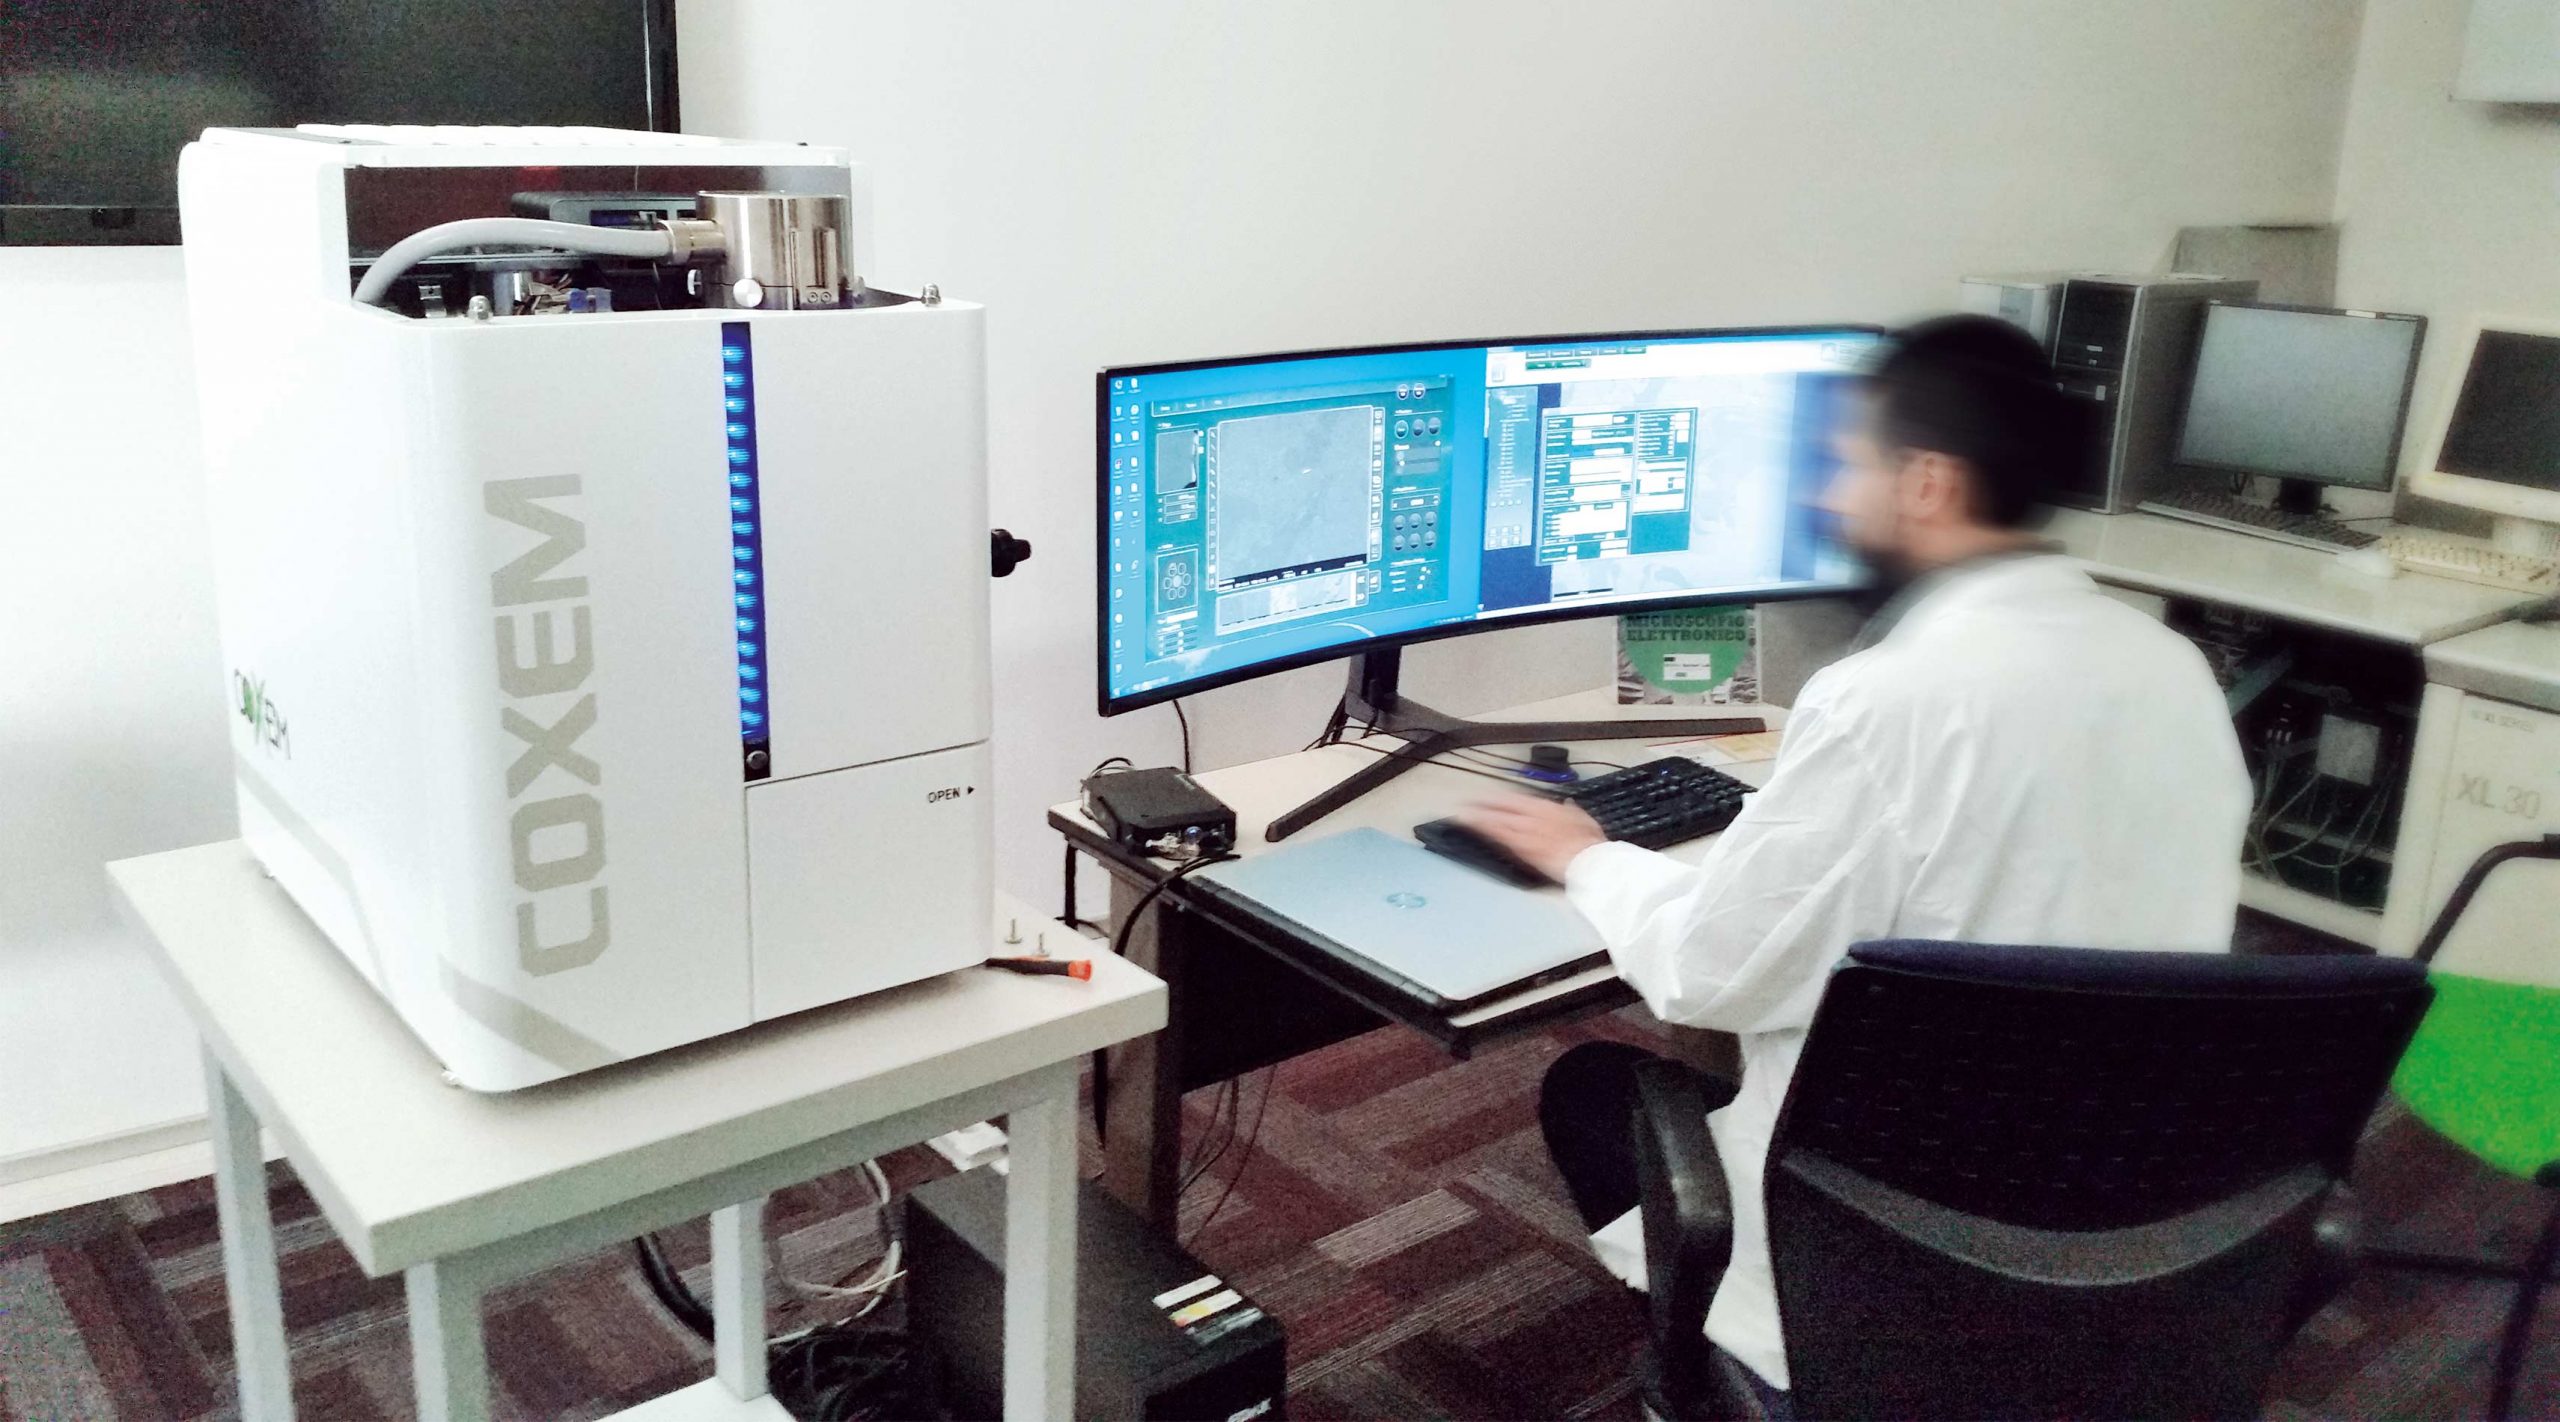
- SCANNING ELECTRON MICROSCOPE
- GLASS DEFECT ANALYSIS
The refractory materials in a glass furnace have to resist not only extremely high temperatures, but also the corrosion coming from the glass melt and the furnace atmosphere. The post-mortem analysis of corroded refractory material after furnace service provides essential information about, and insights into, the correlation between furnace performance and furnace operation on the one hand, and refractory wear on the other. The interpretation of the microscopic observations makes it possible to explain the different corrosion mechanisms and, thus, provides valuable details and clues for a possible optimisation of future furnace performance and operation.
In order to simulate accelerated industrial working conditions and to predict the degradation of refractories, elaborate testing procedures are performed.
Corrosion
resistance
The resistance
to thermal and
chemical
stresses is
tested with the
dynamic finger
test and the
static plate
corrosion test
according to the
International
Commission on
Glass, Technical
Committee 11
(the so-called
TC11).
In the dynamic
finger test, a
cylindrical
sample is
rotated in a
platinum
crucible
together with
molten glass.
The test is
carried out with
predefined
parameters
(temperature,
time) and the
reduction in
diameter at
fluxline (three
phase contact)
is measured. The
corrosion rate
can also be
determined by
measuring the
decrease in
length (forced
convection at
the rotating
cylinder face)
as a function of
time and at
various rotation
rates.
In the static
plate corrosion
test, sample
platelets are
immersed into
the glass melt.
After the chosen
time the fluxline
depth of the
corroded samples
is measured.
This test is
carried out with
four samples
under the same
test conditions
and is,
therefore, an
appropriate
method to
compare and
evaluate certain
refractory
grades together.
An international
round-robin
investigation
within the
Technical
Committee 11 of
the
International
Commission on
Glass confirmed
the good
reproducibility
of the static
plate corrosion
test, and the
TC11 recommended
it as the
standard
corrosion test.
Stone
formation
Due to the
interaction of
the glass melt
with fused cast
AZS, solid
stones can be
generated.
The defect
potential is
evaluated by
counting this
kind of
inclusion inside
the remaining
glass after each
corrosion test.
Blistering
The tendency of
fused cast AZS
to form bubbles
in contact with
molten glass is
evaluated with
an especially
developed test
procedure in
which standard
glass is molten
in a fused cast
AZS
crucible.
The number of
bubbles
contained in the
glass samples
after test
melting is an
indication of
blistering
potential.
The tendency to
release bubbles
is expressed in
bubbles/gram
glass, following
the terminology
of glass defects
of the
International
Commission on
Glass.
Exudation
In order to
evaluate the
expulsion of
glassy phase, a
simulation of
the load-free
preheating
stage, which the
refractory
blocks in a
melting furnace
undergo, is
performed by
heating the test
material up to
temperatures
comparable to
real furnace
operation
conditions.
The test
procedure
follows the
recommendations
of the Technical
Committee 11 of
the
International
Commission on
Glass. The
experimental
data of REFEL
refractories
show that for
temperatures
higher than
1500°C there is
only limited
exudation which
decreases slowly
with service
time.
Vapour
attack
This test method
according to
ASTM is
performed to
evaluate the
resistance of
refractories in
glass melting
furnace
superstructures
to vapour
attack. The
vapour test
method may also
be useful for
evaluating
refractories in
other
applications
where vapour
attack occurs.
The Scanning Electron Microscope (SEM) is used for the high resolution analysis of very fine crystalline structures as well as the analysis of glass chemistry and glass defects such as impurities and inclusions. Fragments of the material to be examined or ground sections – gold-vaporised surfaces for structure, carbon-vaporised surfaces for chemical composition – are scanned by an electron beam and displayed on a monitor for analysis. Due to the high degree of magnification, the special arrangement of the structure components and pores in the material under investigation become visible. It is, therefore, possible to qualitatively determine the existing elements during the investigation of impurities, and to make semi-quantitative statements on the chemical composition of the structure components of ground areas.
Glass defects can
arise for
various reasons,
such as unmolten
raw materials or
the extensive
use of recycled
glass cullet,
and result in
the occurrence
of unsightly and
partly dangerous
inclusions.
Furthermore,
also melting
conditions and
their influence
on the
refractory
materials in the
furnace can
stimulate glass
defects.
Through the
identification
of glass defects
REFEL’s
experts can give
comments and
recommendations
based on their
long-term
experience
regarding
possible causes
as well as
possible
preventive or
corrective
measures to
avoid glass
defects in the
future.
In doubtful
cases, the
results of
optical and
electron
microscopes are
verified by
X-ray
diffraction
analysis in
REFEL’s
state-of-the-art
laboratory.
- Contact us for
- Leaflet
